When you first set up your new Windows 8 computer, you’ll be guided through the process of creating your own user account. While this certainly is enough to get you started, most computers will require additional accounts to cover all of its users. In Windows 7 you’d head to the Control Panel to create new users, but Windows 8 changes things up a bit. Before you get started, make sure you know the difference between Local and Microsoft accounts and which you want to use.
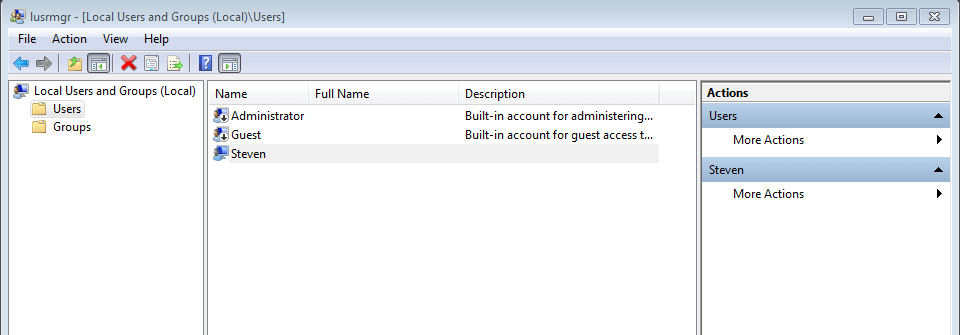
To start program (Local Users and Groups Manager) at Windows 8, please start “RUN” via shortcut key combination [Win-Logo] + [R] and enter in the Edit-Box the cmd (command): lusrmgr.msc
This run command will open “Local Users and Groups Manager” Program.Here is very easily to add more Windows 8 users, remove, disable, manage.
FIX : Unable To Use “Local Users & Groups Snap-in”
1. First of all make sure that others snap-ins like Group Policy, Security Policy etc. are working. Then press Win+ R and put mmc.exe in Run dialog box, hit Enter.
2. This will take you to Management Console window. Click File -> Add/Remove Snap-in.
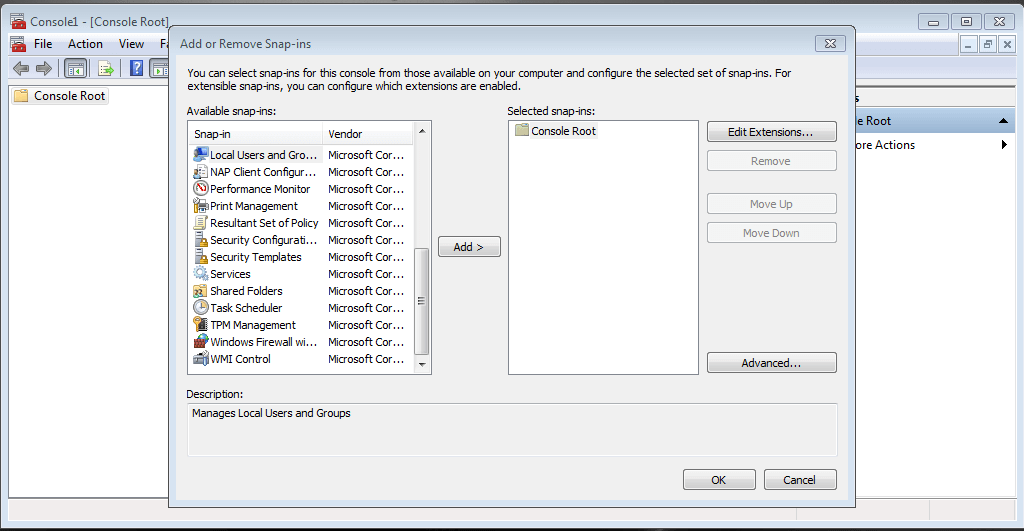 3. Moving on, in the following window, from the Available snap-ins section, select Local Users & Groups and click Add
4. Finally in the Choose Target Machine window, click Finish.
This will add the Local Users & Groups Snap-in to Windows functionality and you can use it. You may close theManagement Console window now and verify the results.
Leave a Reply
You must be logged in to post a comment.